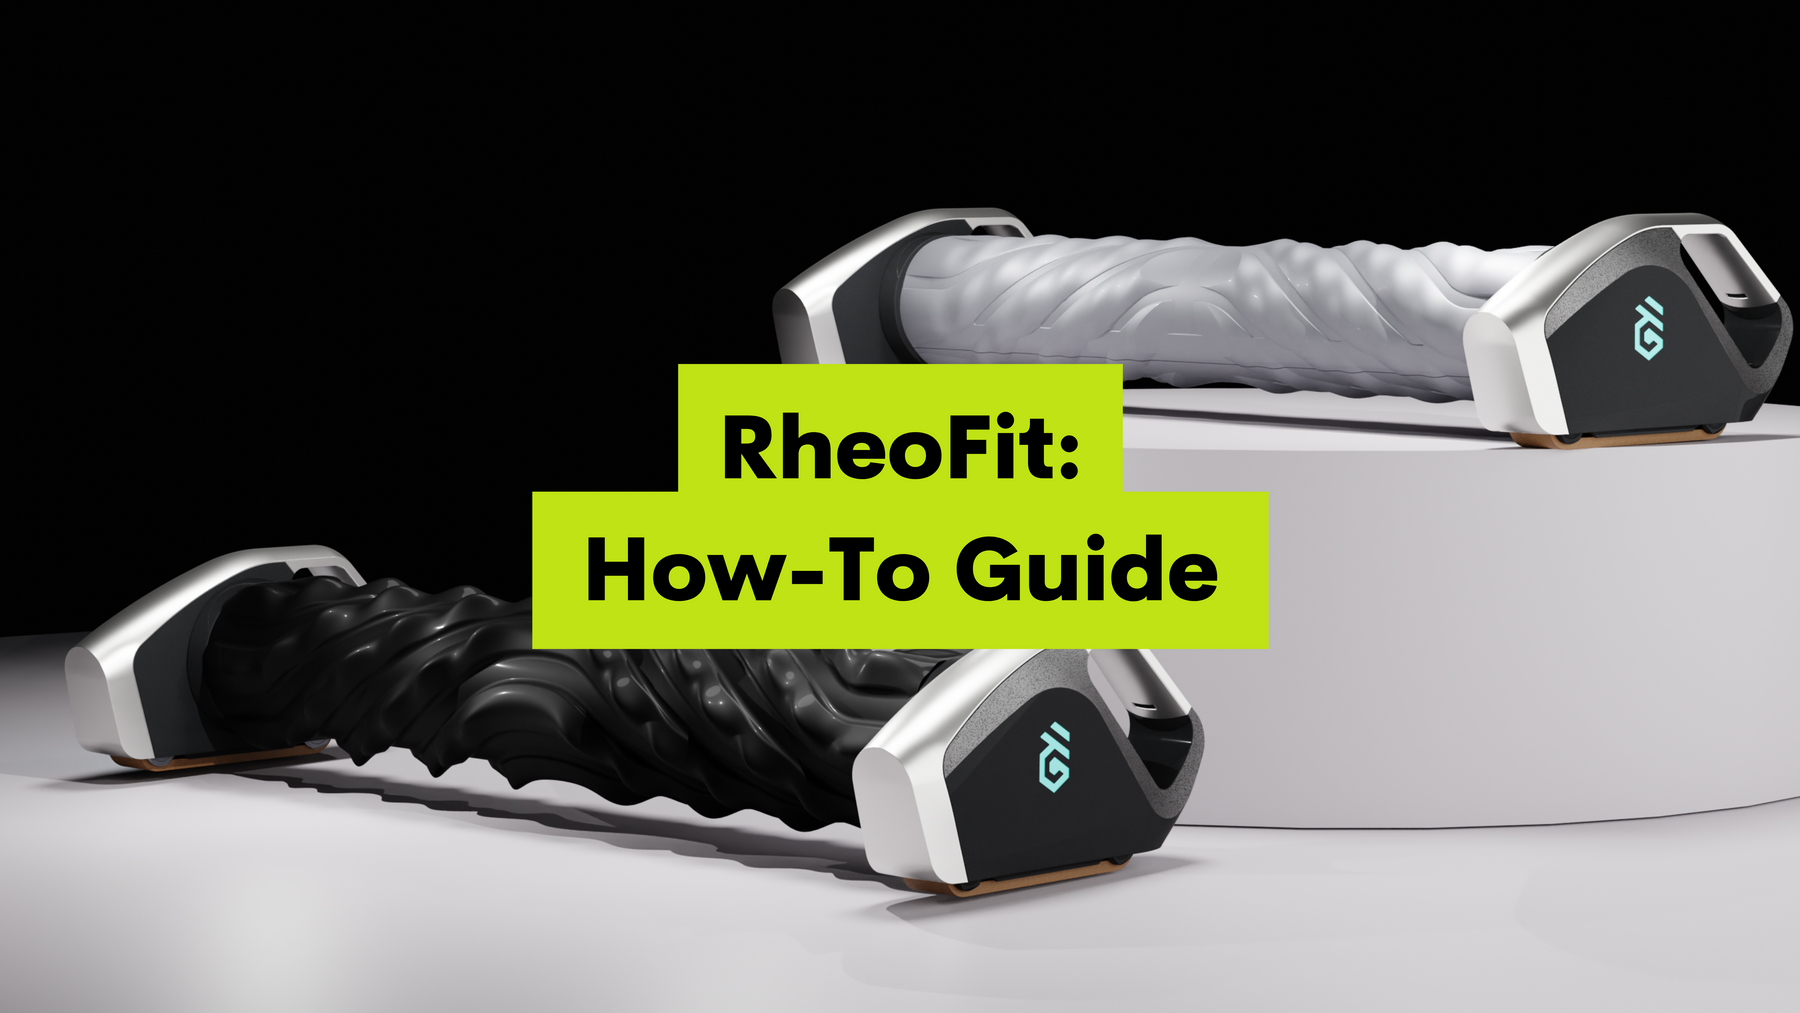
RheoFit: How-To Guide
Either you just got the RheoFit A1 or you’re considering getting it and are wondering just how easy this device is to operate. Either way, let’s get into it, shall we?
Step 1: Turn it on
Let’s start with turning this thing on.
To do that, you’re gonna want to press and hold the multifunction button [as indicated in the image above] for just a second. When the LED indicator turns on emitting that turquoise glow, you’ll know your RheoFit is on and ready to roll.
Step 2: Connect to the RheoFit App
While the RheoFit is capable of working without the application, use of the app is highly recommended for better control of the device and access to custom modes.

The app is compatible with both Android and Apple phones, therefore, it's available on both the App Store and Google Play.

Once the RheoFit app has been downloaded, follow these simple steps to pair your RheoFit to your RheoFit app:
-
- Open the RheoFit App
- Tap on “My Device” on the app’s dashboard
- Turn your RheoFit on
- Tap on the RheoFit at the top of the app interface. [The closest RheoFit to your phone/tablet will be the top RheoFit displayed]
- Pairing complete!
Step 3: Control the RheoFit
Now, to control your RheoFit, head to the “Control” page located in the dashboard at the bottom of the app's interface.

On the right side of the Control page, 2 arrows are present. Those arrows will control the movement of the RheoFit.
Upward Pointing Arrow:
Moves the RheoFit move forward
Downward Pointing Arrow:
Moves the RheoFit backwards
As for the 2 location pin icons located on the left side of the page, they are used to set your start and end destinations.
Top Pin:
Set start destination
Bottom Pin:
Set end destination

Follow these simple steps to set your Rheofit’s destinations:
-
- Tap and hold the top arrow. This will cause the RheoFit to move up.
- Once it has rolled to the length you are satisfied with, lift your finger from the top arrow and mark the desired spot with the turquoise location pin to set a start point.
- Tap and hold the bottom arrow until the RheoFit has rolled to the length of your desired location.
- Mark the end point with the black location pin.
- Once you are happy with the start and end points, press the play button and let your RheoFit roll away.
Do keep in mind that, in order for your A1 to work, you’ll need to place pressure on it. If the roller doesn't sense any pressure, it will stay in place.
Another disclaimer, make sure that while the device is in use, unless you intend to stop the Rheofit, nothing should obstruct the infrared sensor located at the side of the device. This will cause the RheoFit to stop automatically.
RheoFit App Navigation
Now, if you’re new to massage rolling, fear not, the A1 is 100% beginner-friendly.

Under the “Smart solution” tab, there are 3 different modes. Let’s explore them.
AI Mode
The AI mode provides users with a more personalised recovery.
When using this mode, the app will:
-
- Prompt you to enter your height information.
- Instruct you to lay flat and place the roller on your ankles.

The RheoFit A1 will roll under your body to create a custom model of you in order to provide you with more personalised services.
Normal Mode
Normal mode is just as its name suggests…Normal.

From an array of choices, just pick an activity you would like to recover from and follow the video tutorial provided in the app to guide yourself through your recovery session.
Fine Mode
Fine mode offers a more body-part-specific recovery guide.

All you have to do is pick the specific muscle you would like to massage and the app will provide you with suggestions on the type of massage cover [ProDeep or LightDeep] you should be using as well as the recommended duration of your rolling session.
Safety
Hey, before you get to massaging, just make sure to heed the device’s safety warnings.

Scroll down in the RheoFit app’s “My device” tab [the same tab used for pairing your RehoFit with the app]. There, you will be given several safety disclaimers accompanied by illustrations.
Examples of these disclaimers include:
-
- “Keep your hair tied up and placed upward to avoid entanglement”
- “Do not massage vulnerable parts of the body”
Don’t worry, the device isn't a hazard by any means, these are just precautions to uphold the well-being of users.
Conclusion
So, all in all, pretty simple huh? For those who already own the Rheofit A1, happy rolling! For our possible future owners, do yourselves a favour and click here!
Author: Nazera Latif


